
Before you start:
- Download an XML editor such as Foxe
- Download a program to unzip or unpack files such as 7-zip
- Download a program to generate icons in appropriate resolutions, such as GIMP, Adobe Photoshop, Adobe Illustrator, or Sketch.
- Download any custom image for icon. Image must be .png format or create your own icon.png by following this Directions for Creating Control4 Icons.
- Multiple Cable/Satellite drivers have already been created on the driver database. How to add new cable/satellite icon drivers to your project
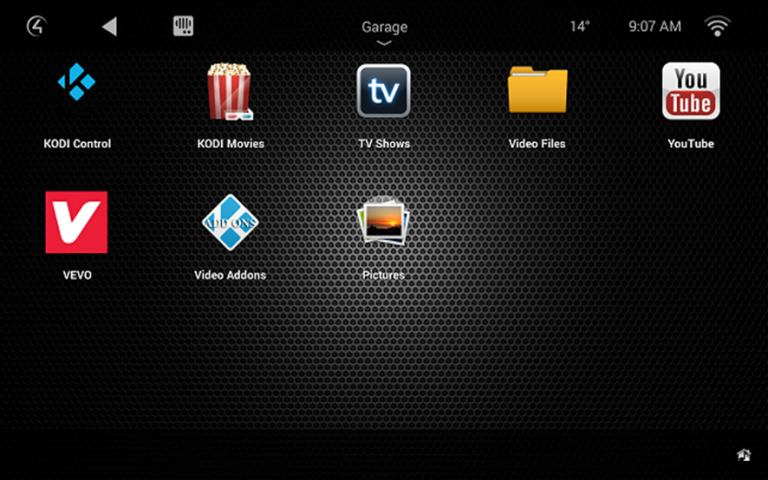
Option 1: Changing the icon on an existing c4z driver
Step 1: Unpack or unzip c4z file
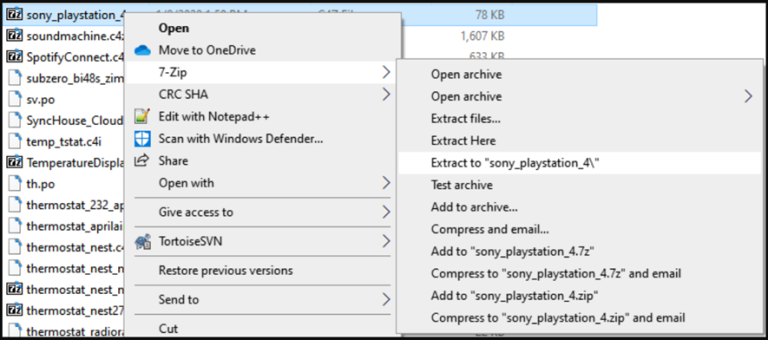
- Once the folder is unzipped you can see multiple items contained in the package.
Remember the name of your driver because you need to name it the exact same after making changes. Example: 
This information only works for non-encrypted and non-certified drivers. See below for encrypted drivers.
Step 2: Scale image to proper size
- Using the image editing software, generate images in the required resolutions for the specific driver. You should be familiar with use of image editing software before attempting this process. Templates to assist with this process are available in the Driverworks SDK.
- Add the images to the www folder

Step 3: Repack driver
- Highlight all the contents you unpacked and compress again.
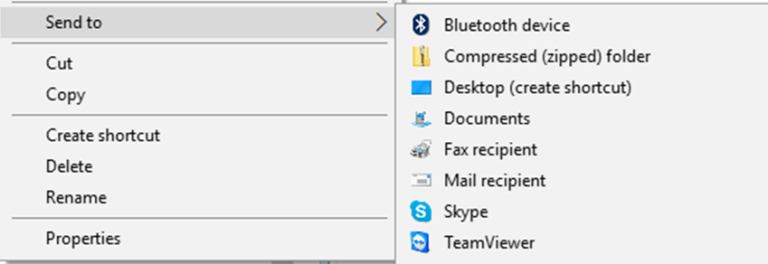
Step 4: Rename .zip to previous name .c4z.
- Example:
Step 5: Move file to Control4 drivers folder
- Located at Documents/Control4/Drivers.
Step 6: Launch composer
- If driver already existed in your project you do not need to load it again. If it was not then load it from local search database.
Take a look at the buttons with customized icons, which are ideal for providing a better user experience
Option 2: Changing the icon on an older c4i driver
To add custom icons to an older c4i driver you will need to convert it from a c4i to a c4z. Follow this article to do that: How to convert an old .c4i driver to a new .c4z driver.